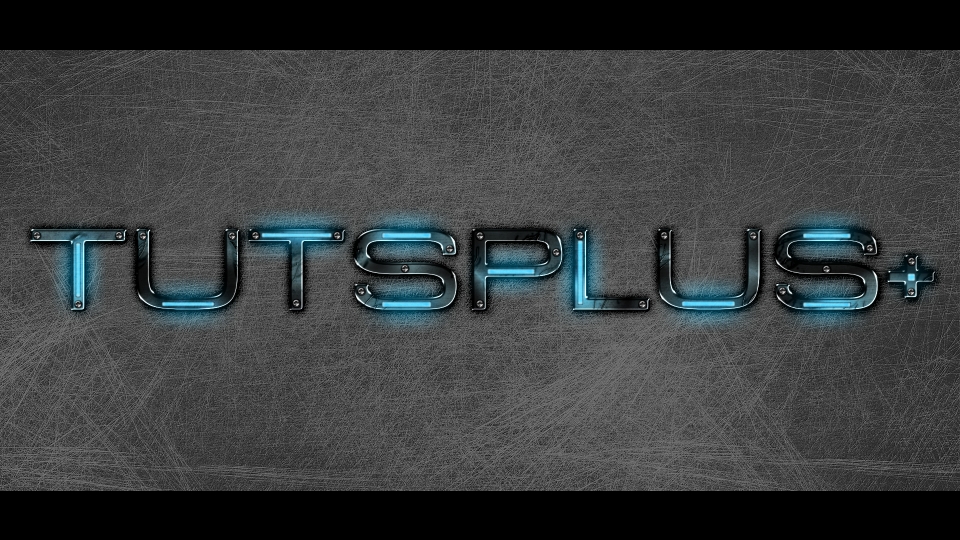
Step 1
Create a new document with any desired size, in this case I made the document 1920px wide and 1080px high at a resolution of 300ppi. Next, change the background color to #272727.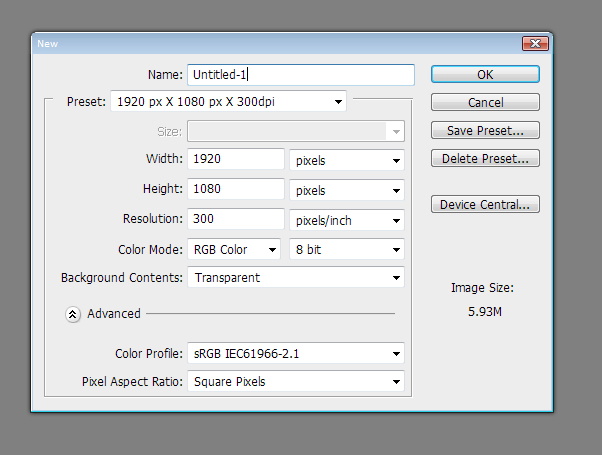
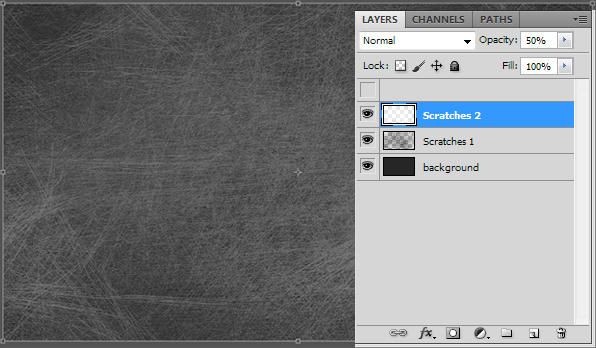
Step 2To get the scratched concrete look, I used a set of scratch brushes found here. First, create a new layer and call it "Scratches 1" or whatever you prefer, then pick a scratch brush of your choice with a black foreground color and click once on the stage, making sure it covers the whole stage. Next, duplicate that layer you just created by pressing Cmd/Ctrl + J and call it "Scratches 2". Invert this layer by pressing Cmd/Ctrl + I and change the opacity to 50%. Now nudge the "Scratches 2" layer 1px Down and 1px Right to create a bevel effect. Resize the layer if needed to cover the whole page.
Step 3
Let’s get started with the text. Write the text of your choice and center it on the screen. In this case I wrote "TUTSPLUS + " with the Acens font at a size of 65pt.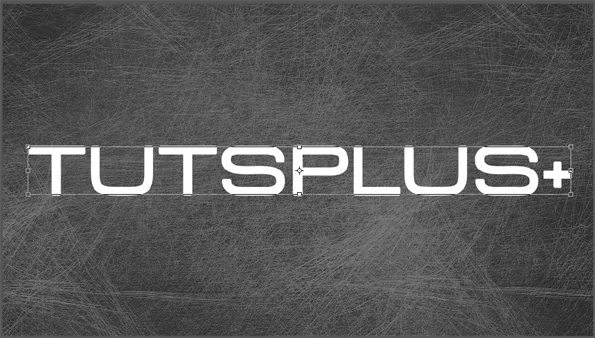
Step 4
Next, apply these layer styles. You can mess around with the colors to get the effect and tone you wish to achieve.

Step 5
Now we add the scratches on the metal. I’ve used the default Photoshop brushes in this case, mostly the Dune Grass and Grass brush.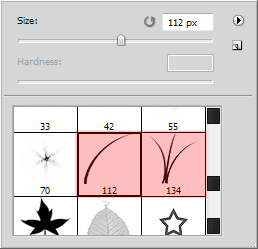
Create a new layer and call it "Metal Scratches". Set the Opacity of that layer to 50%. Next, apply the following layer styles to the layer.
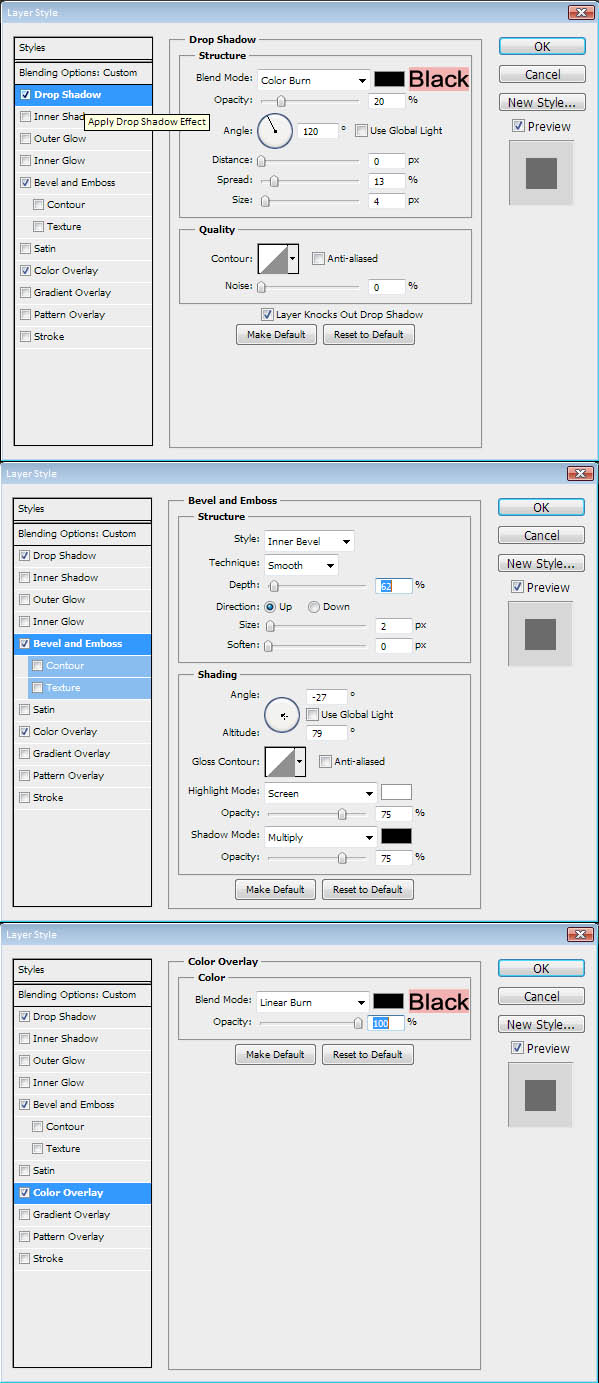
After you’ve done that, keep the layer selected and Cmd/Ctrl + Click the Text layer to place a marquee around it. This will make sure you only draw in the selected area. Now add the scratches by painting them in from the edges of the text. Don’t worry about messing up, as that will be fixed later on.

Step 6
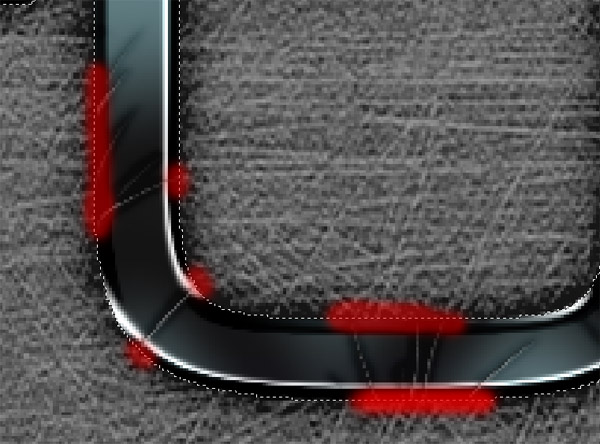
After you’ve created the metal scratches and are satisfied with the overall look, let’s start with the removal of the excess scratches. As you can see there are scratches in the dark and bright areas in the image above, which will make the scratches look fairly unrealistic. With the layer still selected, get out the Eraser tool (E) and change the size to 10px with a hardness of 0%. Then erase the scratches in areas such as highlighted in the image below.Tip: Make sure you only Touch the highlights, as we still want a little of the scratches to show in those areas.
Step 7
Once you’re satisfied with the results, it’s time to add the neon lights. Select the Shape Tool (U) and pick the Rounded Rectangle. Set the corner radius to 2px and draw this shape somewhere inside the long parts letters, making sure it is half the width of the area you’re placing it. And make sure not to cover the ends of the letters, as we still need to add screws there.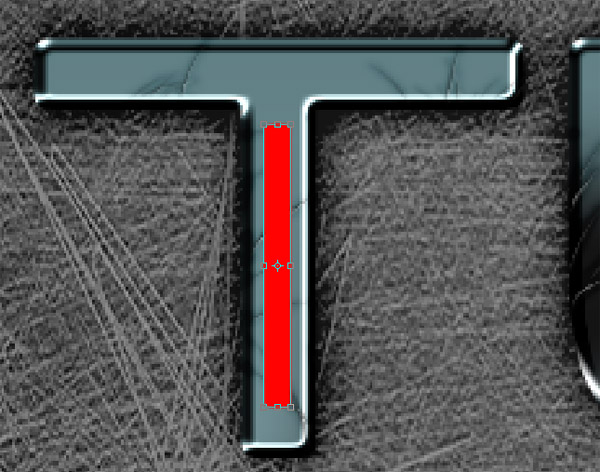
Add the following layer styles to one of the shapes. Then just copy the layer style from the shape and paste it on the rest of your shapes to save time. If you wish to reduce the scratches behind the lights, just select the "Metal Scratches" layer and run the Eraser (E) along the lights.

Step 8
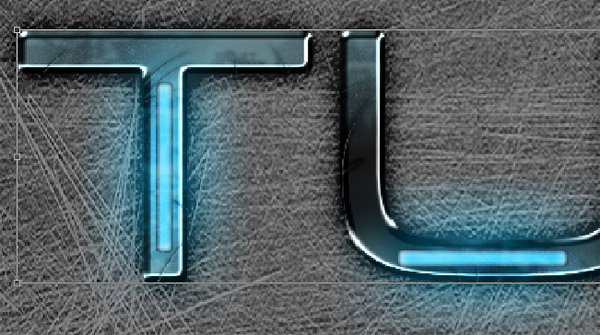
Next, let’s add the grunge. Create a new layer above the Lights, call it "Grunge", and set it to Overlay. Pick a brush that you think will be great for adding some grunge. In this case, I used the default Photoshop brushes, primarily the watercolor brushes near the bottom of the Default Brushes. Select a brush, then Cmd/Ctrl + Click the Text layer to place a marquee around it. Then just paint in the grunge.
After You’ve painted in the grunge, make sure Your foreground color is set to Black and Your Background color is set to a shade of Grey, then go to Filter > Noise > Add Noise and add 10%, Gaussian, Monochromatic Noise.
Step 9
Now to add the Screws. Since there is no brush for screw heads, we need to make our own brush for this. Create a new layer and draw a black sphere shape. Duplicate that shape and squeeze it sideways, change its color to grey, duplicate it again and rotate it 90 degrees.
Now merge the 3 shapes and Cmd/Ctrl + Click the layer it created to place a marquee around the screw head. With that selected, go to Edit > Define Brush Preset. Name the new brush "Screw Head". After that, You may remove the layer with the Screw Head.

Step 10
Create a new layer and call it "Screws". Next, apply these layer styles to the "Screws" layer.
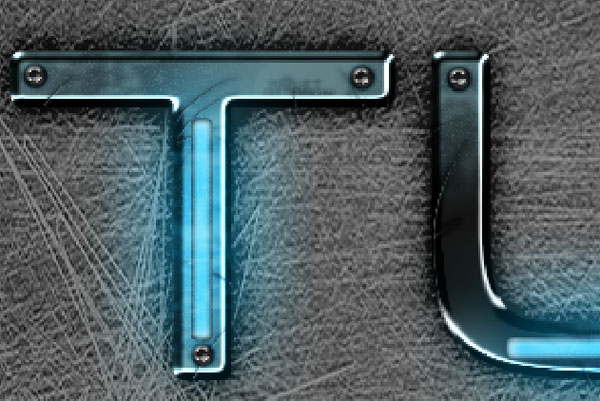
Now pick the brush You’ve just created, change the size to 10px, and with the "Screws" Layer selected, click on the ends of each letter, or where ever You want to place a screw.
Conclusion
Lastly, let’s create the Letterbox Effect. This is made by placing 2 black rectangles on the image, one on the top, and one on the bottom. I made mine 100px tall, but it doesn’t really matter how large you make them, as long as they don’t overpower the image itself.Once you’ve added those, you’re done. Take your time, as you will get a much better result. And you don’t have to stick to the default Photoshop brushes for the scratches and the grunge. If you have better ones, use them.
